Click here to view the source Google Doc: Using Hapara Smart Share
Smart Share offers an easy way to share and copy documents to students from Hapara Dashboard.
Smart Share lets you specify everything about a copy in one simple page. To start, click the Smart Share icon, the third icon on the right side of the Dashboard.

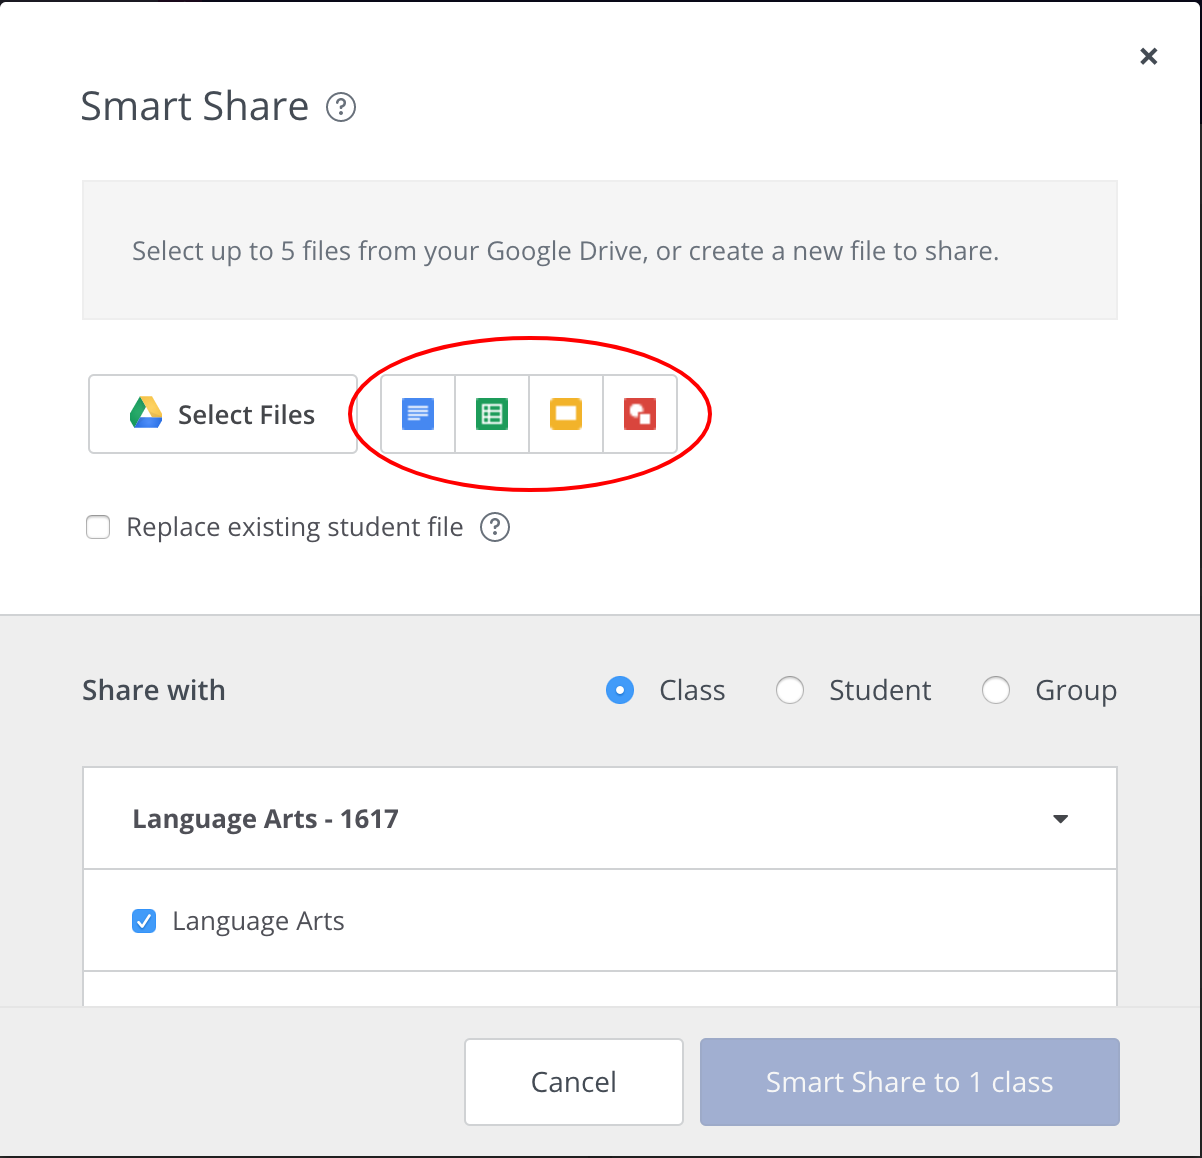
1. Select files to share or copy
a) To share or copy an existing file:
To select an existing file from your Google Drive, click, “Select Files” with the Drive icon. This will open Drive's file picker. If you have trouble finding a document via the picker, you may find it useful to try Google's advanced search tips, described in this article.

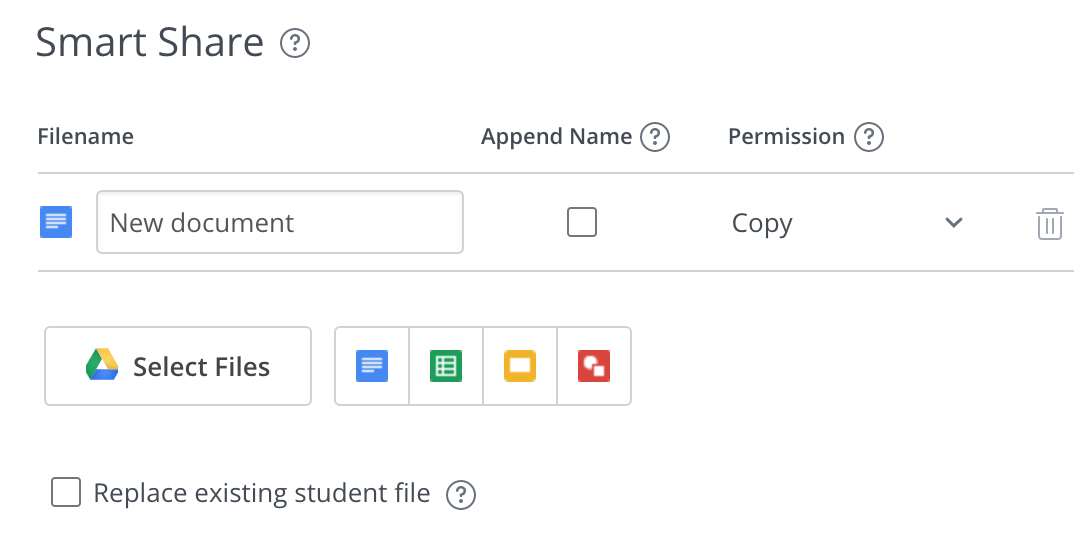
b) Creating a new file to share or copy:
To make a new file to share or copy, click the icon for the type of file you want to create. The options are Google Docs, Google Sheets, Google Presentations and Google Drawings.
2. Choosing a title
a) Choosing a title for existing files:
If you select an existing file from your Drive, its title will automatically be placed in the Filename field. Changing this will change the title for the copies your students receive, but doing so will not rename your original copy of the file.
a) Choosing a title for new files:
When making a new file, type a name into the Filename field to replace the default name of "New document".
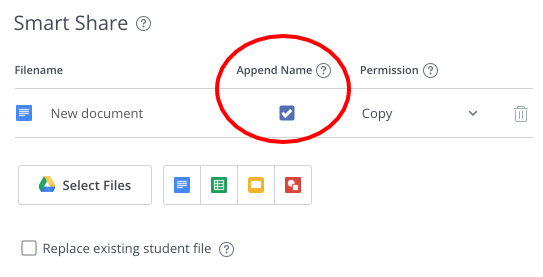
Personalising copied files with each student's name:
If you are making copies, you can personalise their titles by adding students' names. To do so, simply check the box to “Append student names”.
3. Selecting a sharing type
Using the drop-down menu in the Permissions Column, choose how you would like to copy or share each file. There are four options:
Copy: A separate copy of the file is made for each student, and students own these copies.

Share read-write:A single file is shared with all of the chosen students. Students can edit the file, and changes are visible to other students.
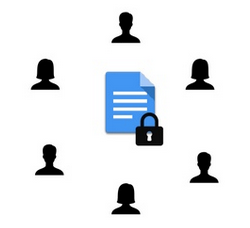
Share read-only: A single file is shared with all of the chosen students. Students can view and copy the file, but they cannot edit the file.
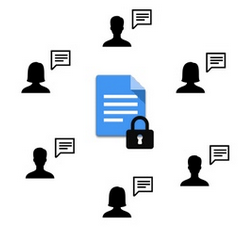
Share read-comment: A single file is shared with all of the chosen students. Students can view, copy, and add comments to the file, but they cannot edit the file.
Note: Files shared as read-only or read-comment will not be shown in your dashboard. Hapara Dashboard only shows files that students own or can edit.
4. Selecting a destination for your Smart Shared files
There are three ways to specify which students will receive a file and where the file will be placed: by class, by student, and by group.
By class. Files will be placed in the chosen subject folders for each student in the chosen class.
By student. Files will be placed in the chosen subject folders. Each selected student will receive the copied or shared files in the chosen subject folder.
By group. Files will be placed in the chosen subject folders for each student in the chosen colour groups.
5. Handling existing student documents
If a student already has a file with the name of the file you're sharing, Smart Share can either replace the existing file or stop the copy process for that student and leave the existing file alone.
Replacing the file is useful when a teacher has copied a file in error.
To do so, simply check the box at the bottom of the Smart Share settings. For more about deleting student files after they have been copied, please see this FAQ.
6. Let the sharing begin!
After reviewing your settings, start the Smart Share by clicking "OK". The length of time required for a Smart Share will vary based on the numbers of files and students selected.